

The ESP Furler: Easy to Assemble and Reliable Performance
The ESP Furler offers a simple assembly process with fewer components, making it an affordable and practical choice for sailors. Despite its simplicity, it maintains the same durable styling and low-maintenance bearing system as our high-performance line. The foils slide over a standard marine eye and headstay without needing to cut the wire during installation. Once assembled, trim the top foil to fit, and adjust the bottom foil to fine-tune the unit length. Choose between Long, Medium, or Short Leg Kits to modify the drum height. Use the Long or Medium Leg Kit for furlers with turnbuckles, and the Short Leg Kit for those without.
Step-by-Step ESP Furler Installation Guide
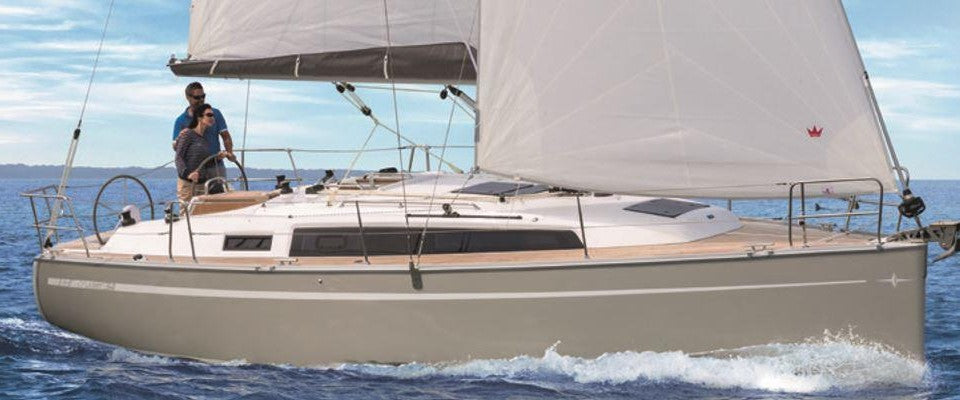
1. The ESP Furler was installed on a Bavaria 31 with a 7 mm forestay and a 7/16" clevis pin, for which the correctly specified furler is the ESP Unit 1.

2. We arrived at the boat on a cold morning with bright sunshine. Our first task was to remove the old furler.

3. This involved using halyards to take the forestay tension, releasing the bottom pin, and sending someone up the mast to release the top pin.

4. We lowered the old furler to the dock and measured the pin-to-pin distance. This measurement is crucial as it determines the final length when cutting the top foil.

5. We laid out the components of the new furler alongside the old one and removed the forestay from the old furler. Since the Sta-Lok fitting was seized, we had to cut it off to extract the wire. After inspection, the forestay was deemed suitable for reuse with the new furler.

6. The forestay was fitted with a swaged turnbuckle, and we proceeded to assemble the foil onto it.

7. We inserted the top cap and connected the foil joints. This step was quick and straightforward. Before proceeding with the hub installation, we attached the halyard swivel to the foil.

8. With the drum and legs installed and the toggle assembled, we adjusted the foil length using the telescopic bottom section. After loosening the turnbuckle, we were ready to hoist the new furler and secure it by installing the top pin.

9. When it was time to install the bottom pin, we noticed it was short by about 150 mm. The slack in the backstay caused the mast to fall back slightly. After tightening the backstay and adjusting the mast, we managed to insert the pin correctly.

10. Finally, we added the furling line and hoisted the sail. Dutch immediately appreciated how smoothly the furler operated. Installing the ESP Furler was a straightforward process. In most cases, using a new forestay simplifies the job further. Just follow the ESP Installation Manual and take your time to ensure proper assembly.

At MAURIPRO Sailing, we’re always here to help! If you have any questions or need assistance, feel free to contact us. Also, don’t miss our free shipping offer for all US continental orders over $99!