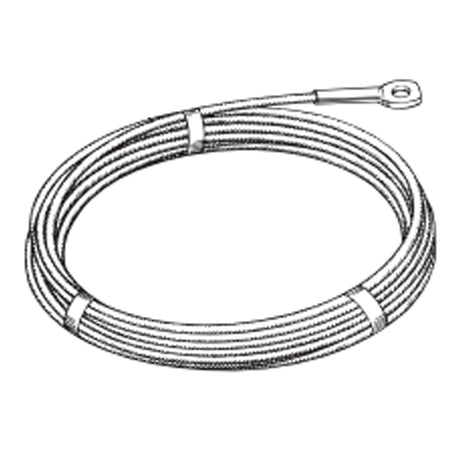




Selden Furlex 100S — Owner's Manual

Assembly, halyard routing, furling line, sail adaptation, operation, reefing, maintenance, troubleshooting and the full spare parts list for the Seldén Furlex 100 S jib furler (Ø4, Ø5 and Ø6 mm forestay).
Download PDF ▾

This manual is split into 2 pages: Part 1 · Part 2 →
Furlex 100 S at a Glance
Discontinued model – documents and spare parts as printed.
- Complete kit: forestay wire, halyard swivel and lower bearing assembly with snap shackles, 4 line-drum flange halves, line guard housing, line guide fitting, 2 halyard leads 508-135 with insulator sheets and screws, Torx bit set (T15/20/25/30/40/45), 4 stanchion blocks, top guard, furling line, Ø 5.3 mm drill bit, prefeeder, locking adhesive, grease.
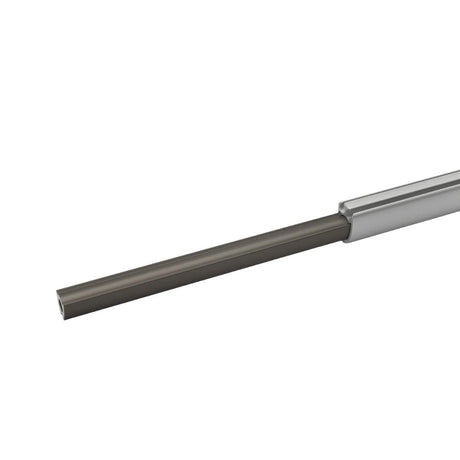
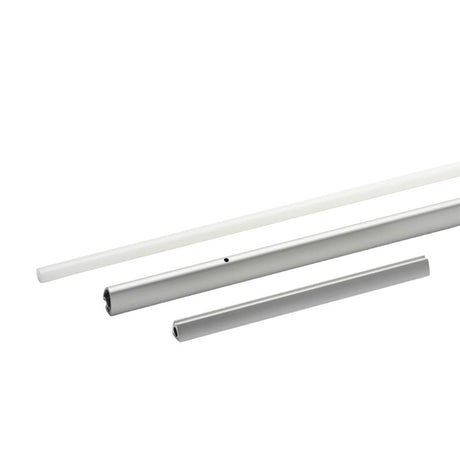
- Foil pack: one 1000 mm extrusion with long joint sleeve, one 2000 mm and a number of 2400 mm extrusions with distance tubes, sail feeder, connecting springs.
- Twin luff grooves, uniform luff section down to the tack, tack-ring "free turn". Optional external rigging screw for Ø 6 mm forestay only (174-074-01, 50 mm adjustment).
- Torx sizes: M5 = T 25, M6 = T 30, M8 = T 40. Model designation is on the line-drum top. Warranty 2 years.
| Wire | Drum Ø DD | DH | DW | Top eye TED | TET | Lower terminal deduction T |
|---|---|---|---|---|---|---|
| Ø 4 (5/32") | Ø 152 (6") | ~ 100 (4") | 80 (3 1/8") | ø 8.2 (5/16") | 4 (5/32") | 45 mm (1 3/4") |
| Ø 5 (3/16") | Ø 152 (6") | ~ 100 (4") | 80 (3 1/8") | Ø 10.2 (3/8") | 4.5 (5/32") | 55 mm (2 5/32") |
| Ø 6 (1/4") | Ø 152 (6") | ~ 120 (4 3/4") | 80 (3 1/8") | Ø 12.2 (31/64") | 6 (1/4") | 70 mm (2 3/4") |
Drum diameter and width are printed once in the dimension table and apply to all sizes.
Toggles & Links (table 3.3.3)
| Art. no. | Type | Wire | Length H | |
|---|---|---|---|---|
| 174-102 | Eye/fork toggle | Ø 4 | 25 (1") | Ask us to source it → |
| 174-103 | Eye/fork toggle | Ø 5 | 35 (1 3/8") | Ask us to source it → |
| 174-104 | Eye/fork toggle | Ø 6 | 40 (1 1/2") | Ask us to source it → |
| 517-056-02 | Fork/fork toggle | Ø 4 | 25 (1") | View part → |
| 517-054-02 | Fork/fork toggle | Ø 5 | 30 (1 3/16") | View part → |
| 517-046-02 | Fork/fork toggle | Ø 6 | 40 (1 1/2") | View part → |
| 174-127 | T/fork toggle | Ø 4 | 60 (2 3/8") | Ask us to source it → |
| 174-128 | T/fork toggle | Ø 5 | 70 (2 3/4") | Ask us to source it → |
| 174-122 | T/fork toggle | Ø 6 | 80 (3 1/4") | Ask us to source it → |
| 517-065-01 | Stemball/eye toggle with fork/fork toggle | Ø 5 | 138 (5 7/16") | View part → |
| 517-066-01 | Stemball/eye toggle with fork/fork toggle | Ø 6 | 152 (6") | View part → |
| 517-063-01 | Eye/fork extension link | Ø 6 | 90 (3 9/16") | View part → |
Full pin and fork dimensions are in the PDF. Extension links for Ø 4 & Ø 5 are not stocked. An extension link must always have a toggle between it and the boat's forestay fitting. Never shorten the system by removing the lower Furlex toggle.
Forestay & Luff Extrusion Lengths
- Note the mast rake; slacken the backstay (threads still visible inside the rigging screw); pull the masthead forward on the genoa halyard secured with a D shackle or tied off – never the halyard snap shackle.
- Take down the forestay and measure FL with just enough tension to keep it straight.
- Wire length WL = FL – T (lower terminal deduction above) – H (any Furlex rigging screw, links or extra toggles). Example Ø5: 9.675 – 55 = 9.620.
- Extrusions: C+D = WL – fixed deduction A+B (Ø 4 / Ø 5: 1340 mm; Ø 6: 1290 mm). C = max. number of 2400 mm extrusions shorter than C+D; top extrusion D = remainder, normally cut from the 2000 mm extrusion; round the cut end.
- If D is under 400 mm, replace the uppermost 2400 mm extrusion with the 2000 mm one: C – 400 mm, D + 400 mm.
- Top distance tube E = D – 120 mm (Ø 4 and Ø 5) or D – 200 mm (Ø 6).
Luff & Wire Terminal
- Assemble on a horizontal surface from the lower bearing assembly up. Short spring (L=103 mm) in the 1000 mm extrusion, long joining sleeve (L=1168 mm) to hold it; long springs (144 mm) at the other joints. Leave a 50 mm gap at the 1000/2400 joint for the sail feeder.
- Fit the halyard swivel down to the sail-feeder gap (tape it), then the top guard with its two screws (bottomed, not over-tight).
- Mark WL on the wire from the centre of the eye, feed the wire down from the top (turn it counter-clockwise if it catches), check 30-50 mm between mark and terminal edge, tape and cut.
- Sta-Lok-type terminal: wedge over the 7-strand core with ~2 mm protruding, strands spaced evenly, former in the eye part, locking adhesive, screw up; check no strand is in the wedge slot; final 2 or 3 drops of adhesive.
- Prefeeder cord through the starboard groove and lower-bearing slot, tensioned hard, prefeeder tied 300 mm from its exit sheave.
Drum, Halyard & Furling Line
- Line drum and line guide are easiest to fit with the Furlex on the boat; line guide midway between the flanges, aligned with the first lead block.
- Halyard angle 5 - 10° to the forestay; less risks halyard wrap. Fit the two bronze halyard leads (Ø 5.3 mm holes, self-tapping M6 screws with grease, insulator sheet) or a sheave box (wire Ø 4/Ø 5 or rope Ø 8/Ø10: 505-004-10 AL-45, 505-006-10 AL-70). Replace leads at 50% wear.
- Keep the spinnaker halyard clear (round the upper shroud and aft of the spreaders).
- Wind approx. 25 turns of line onto the drum by hand: UV strip on starboard = line exits port, turn clockwise; UV strip on port = counter-clockwise.
- First turning point at least 250 mm (10") away (below-deck installs). Final cockpit block not included: swivel block, working load not less than 3000 N (675lb), plus a cleat. 4 stanchion blocks for 25 mm (1") tube.
Sail Measurements (table 7.1.1)
| Ø 4 & 5 | Ø 6 | |
|---|---|---|
| Head deduction F | 280 (11") | 295 (11 5/8") |
| Tack deduction E (add any extra toggle or link) | 410 (16 1/8") | 425 (16 3/4") |
| Cutback CB | 60 (2 3/8") | 60 (2 3/8") |
| Luff groove internal ø DLG | Ø 6 (1/4") | Ø 6 (1/4") |
| Luff groove width WLG | 3.0 (1/8") | 3.0 (1/8") |
| Extrusion | 26 x 17 (1" x 2/3") | 26 x 17 (1" x 2/3") |
- Max sail space = FL – (F+E).
- Too long: have the sail shortened. Too short: add a wire pendant spliced to the head so the swivel reaches the 5-10° position; minimum 20 mm (3/4") between swivel and top guard with the sail tensioned.
- UV strip best on starboard; webbing loops at head and tack rather than cringles.
Values transcribed from table 7.1.1; the column assignment follows the printed layout.
Hoisting, Furling & Reefing
- Tension the forestay (backstay, runners) before hoisting.
- Turn the tack ring counter-clockwise if the line exits port, clockwise if starboard; tack to the snap shackle.
- Hoist in the starboard groove if the line exits port (and vice versa), luff through the prefeeder; tension until a vertical crease appears, then ease until it goes.
- Furl tightly with some tension on the leeward sheet; 3 - 5 turns should remain on the drum with the largest sail furled.
- Check swivel at least 20 mm (3/4") below the top guard and the 5-10° angle, then mark the halyard. Never tension the halyard with the sail reefed or furled.
- Reefing (close to beam reach): ease the sheet until the luff just flaps, pull in the furling line, belay. Adjust the sheet lead as needed.
Racing: remove line guide and drum (chap. 17.3-17.4) and sail feeder, lower the halyard swivel and refit the feeder for a twin-groove headfoil.
Forestay Length & Maintenance
- Rigging screw (Ø 6 only): one wrench on the terminal flats, one on the bronze nut; never force past the stop. Without rigging screw, lengthen with toggles – on a 10600 mm forestay a 40 mm toggle moves the masthead 127 mm aft.
- Rigging: tension the forestay to 20% of wire breaking load (on a masthead rig approx. 15% of the backstay's, same diameter). Split pins opened ~ 20°.
- Yearly: rinse, then grease the lower bearing (screw A, tack ring recesses B & C, slot D) and the halyard swivel (recesses E and F in the eye ring) with the supplied grease.
- Wash with mild detergent and rinse; silicone-free polish on the extrusions; never wrap a damp Furlex in plastic; store dry or with centre sections raised where it freezes.
- Do not dismantle the halyard swivel or lower bearing assembly (loose balls) – dealer service.
Troubleshooting
| Problem | Probable causes |
|---|---|
| Sail will not unfurl, or only partly | Jib or other halyard wrapped round the extrusion; furling line not free; forestay too slack; dirt and salt in bearings; too much halyard tension |
| Sail will not furl or is hard to furl | Halyard wrap; no line left on the drum; slack forestay; too much wind pressure; windward sheet not released; tangled sheet; free turn not working; sharp turning angles in the line route; line tangled on drum; line guide chafing on drum; halyard swivel upside down |
| System wobbles | Forestay too loose |
| Sail unfurls after reefing | Not furled tightly enough or line not belayed |
| Hard to hoist | Luff tape too thick; sail caught; halyard routing; dirt in the groove |
| Luff cannot be tensioned | Swivel touching the top guard (luff too long) or halyard angle too great |
| UV strip inside the roll | Line wound on the drum the wrong way |
| Wrinkles at the tack | Tack ring turned the wrong way before tacking, or old/badly cut sail |
Need a part that isn't listed? Ask us to source it and quote the part number from the PDF.
Products in this Manual
-

-

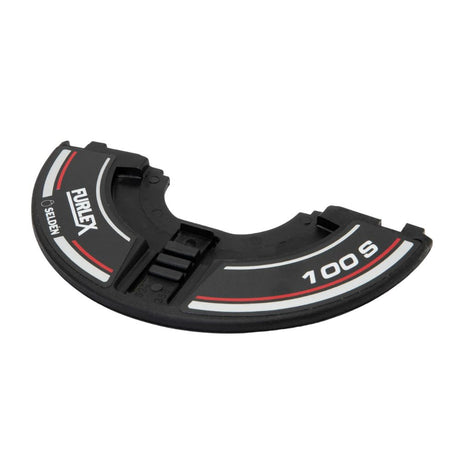
Selden Tack Swivel Half Flange w/ Labels for 100S Furlers
SEL-SPR-539-358-01
$30.99 USDUnit price /Unavailable -
Selden Rope Furlex 100s (Black) - 5/16 in (8.0 mm) x 65.6 ft (20.0 m)
SEL-SPR-612-034-04
$58.95 USDUnit price /Unavailable -
Selden Lubricating Grease (90 g) - for Furlex, Winches and Furling Masts
SELDEN-LUBRICATING-GREASE-TUBE-90-G
$20.99 USDUnit price /Unavailable -
-
Selden Forestay Wire (10.5m - 4mm) for 100S Furlers
SEL-SPR-601-002-30
$131.00 USDUnit price /Unavailable -
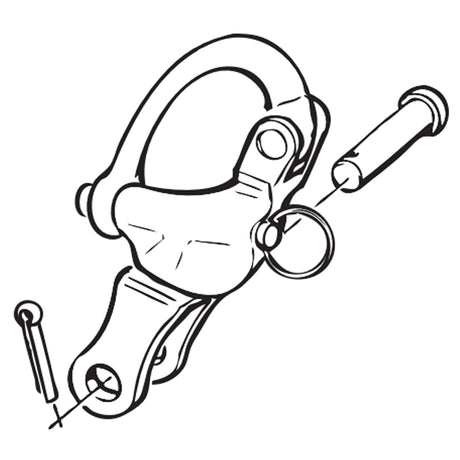
Selden Tack Swivel Snap Shackle (6mm) for 100S Furlers
SEL-SPR-307-336
$48.99 USDUnit price /Unavailable -
-
Selden Bottom Extrusion Assembly (1.0 m) for 100S Furlers
SEL-SPR-539-316-01
$138.00 USDUnit price /Unavailable -
Selden Tack Swivel Wedge (33mm - 6mm) for 200S Furlers
SEL-SPR-301-152
$28.99 USDUnit price /Unavailable -

Selden Extension Link for ø6 and 7 mm Furlex Systems
SELDEN-EXTENS-FORK-EYEFLX-6-7MMST
$75.95 USDUnit price /Unavailable -
Selden Stemball/eye Toggle with Jaw/jaw Toggle, for ø6 mm Headstays
SELDEN-TOGGLE-STEMBALL-FORK-WIRE-6
$241.00 USDUnit price /Unavailable -
Selden Stemball/eye Toggle with Jaw/jaw Toggle, for ø5 mm Headstays
SELDEN-TOGGLE-STEMBALL-FORK-WIRE-5
$141.00 USDUnit price /Unavailable -
Selden Intermediate Extrusion Assembly (2.4 m) for 100S Furlers
SEL-SPR-539-314-05
$157.00 USDUnit price /Unavailable -
Selden Connection Spring for Furlex Type B/Type A/100S - ø3,2 X 144 mm
SELDEN-CONNECTION-SPRING-O3-2X144-ST
$16.99 USDUnit price /Unavailable -
Selden Intermediate Extrusion Assembly (2.0 m) for 100S Furlers
SEL-SPR-539-315-01
$172.00 USDUnit price /Unavailable -
Selden Connection Spring for Furlex Type B/Type A/100S - ø3,2 X 103 mm
SELDEN-CONNECTION-SPRING-O3-2X10³-ST
$12.99 USDUnit price /Unavailable -
Selden Bottom Extrusion Joint Sleeve for 100S Furlers
SEL-SPR-539-367
$108.95 USDUnit price /Unavailable -
Selden Top Guard for Furlex Type a and 100S
SELDEN-TOP-GUARD-ASSY-FLX100-A
$20.99 USDUnit price /Unavailable -
Selden Locking Adhesive for Stalok Terminals
SELDEN-LOCKING-ADHESIVE-1ML
$23.99 USDUnit price /Unavailable -
Selden STANCHION BLOCK (4-PCS PACK)
SELDEN-STANCHION-BLOCK-4-PCS-PACK
$121.95 USDUnit price /Unavailable -
Selden Forestay Wire (13.0m - 6mm) for 100S Furlers
SEL-SPR-601-004-43
$335.00 USDUnit price /Unavailable -
Selden STAY ø5-10500 EYE/OPEN F50/100
SELDEN-STAY-O5-10500-EYE-OPEN-F50-100
$179.00 USDUnit price /Unavailable -