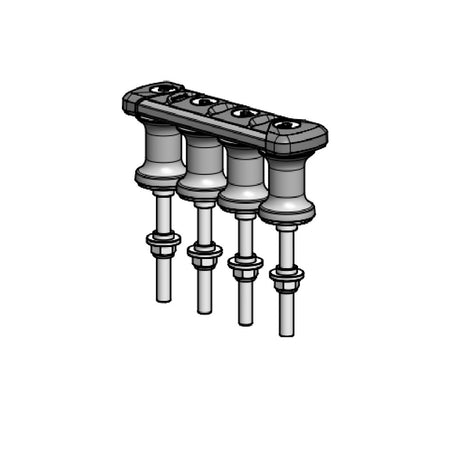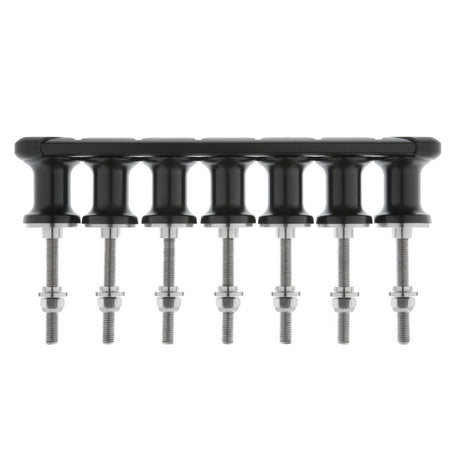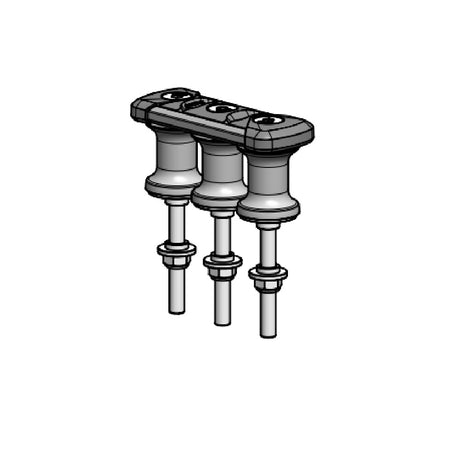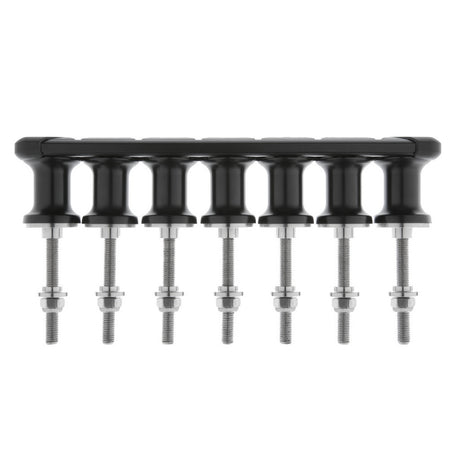




Spinlock TSR Organisers — Instructions

Deck requirements, sheave spacing, loads and step-by-step fitting for pre-assembled and kit Spinlock TSR rotating-sheave organisers – TSR20, TSR20L, TSR30 and TSR30L – with per-size data from the drill guides.
Download PDF ▾

Before You Fit
- Mount the TSR on a flat surface.
- The deck structure must be sufficient for the 1500kg working load of each sheave and withstand 1500kg of compression from each fixing bolt.
- Minimum sheave spacing is 34mm; it can be increased in 1mm increments. Anything other than 1mm increments makes the upper structure hard to assemble and shortens product life.
- Check the loading effect of the installed deflection angle, taking account of any unequal deflection angles.
- Tensioned line must bear only on a sheave. Double stacked: always use the lower sheaves for the most highly loaded lines.
| Maximum loads | TSR20 & TSR20L | TSR30 & TSR30L |
|---|---|---|
| Sheave load | 1500kg | 2500kg |
| Total combined sheave load | 750kg × number of sheaves | 1250kg × number of sheaves |
Loads from the instructions. The TSR20L drill guides give 1750kg longitudinal, 1225kg transverse and combined loads from 1750kg (TSR20L/2) to 11375kg (TSR20L/13); the TSR20 guides give 1500kg / 1050kg. The instructions' load diagram also shows 3000kg and 1250kg at 30° and 60°.
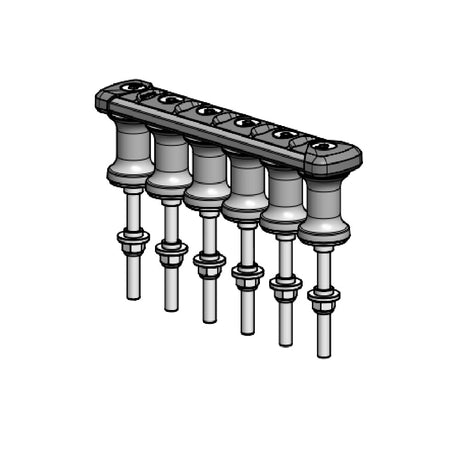
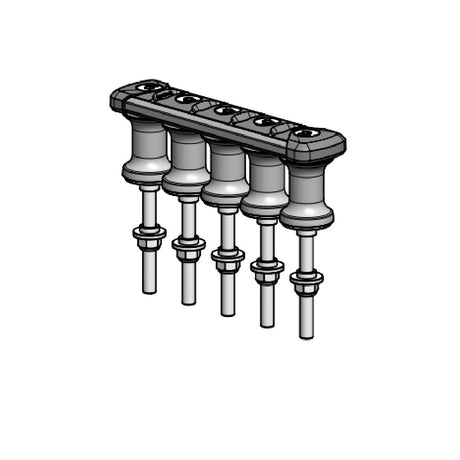
Pre-Assembled TSR
- Work out the best position for the organiser to manage the ropes; mark up the deck from the drawing provided.
- Drill 12.5mm holes perpendicular to the deck.
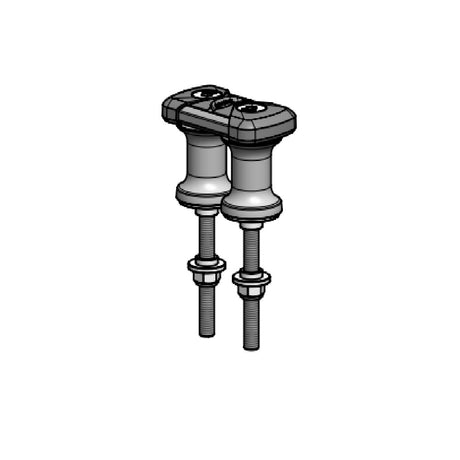
- Screw the stud into the underside of the axle approximately 12mm and dry fit into the deck.
- Mark each stud leaving 15mm of thread protruding for the ‘top hat’ washer and nut; cut to length if required.
- Thread lock the studs into the axles.
- Apply sealant to each hole, mount axle and studs, fit the ‘top hat’ under-deck washers flat side down and screw on the nuts. Tighten to 17Nm.
- Clean up excess sealant – the stainless-steel axles must be completely clean on deck.
- Check each sheave rotates easily. If not, too much sealant was used: disassemble, clean, reassemble and try again.
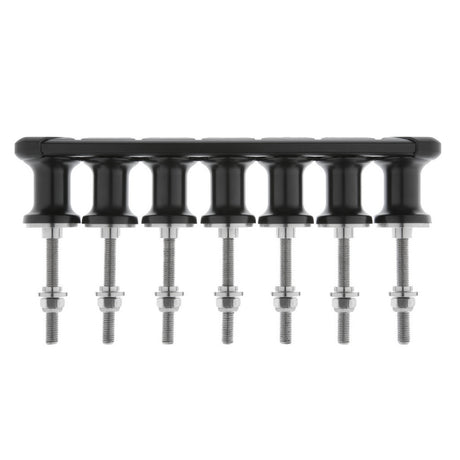
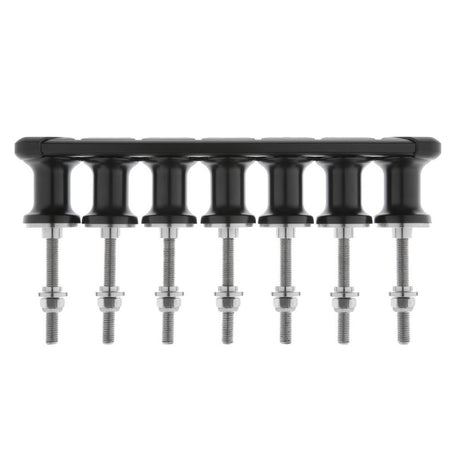
Kit TSR
- Sheaves must be in a straight line. Use a sheave to plan the position for each rope and mark it; then mark the final drilling positions at 1mm increments and no less than 34mm apart.
- Drill 12.5mm holes perpendicular to the deck. Disassemble the organiser, noting the assembly.
- Screw each stud into the underside of its axle approximately 12mm; dry fit, mark each stud leaving 15mm of thread for the ‘top hat’ washer and nut, cut if required, then thread lock.
- Apply sealant, mount axles and studs with the ‘top hat’ washers flat side down and fit the nuts – ONLY tighten to 4Nm at this stage. Clean off excess sealant.
- Measure between the centres of the two end sheaves, add 20mm and cut the rails to this length.
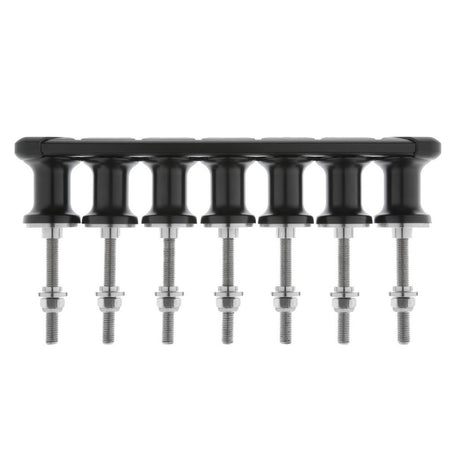
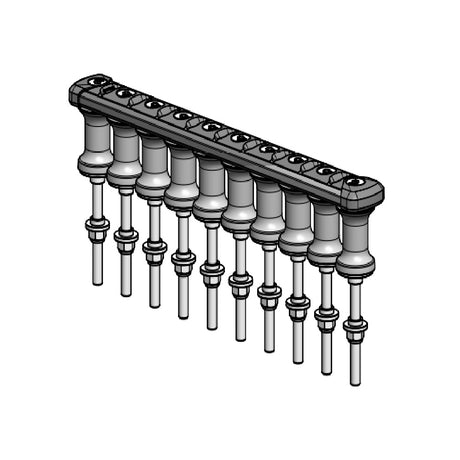
- From one end, place the square black alloy plates on the axles. Even spacing (34, 36, 42mm…): orientation marks point the same way (> >). Odd spacing (35, 37, 43mm…): marks point towards or away from each other (< > or > <).
- Seat the rails on the plates with the grooves engaged and flat. Fit the end caps and top caps with the short M8 CSK bolts, check engagement, tighten to 17Nm.
- Starting in the middle, tighten the under-deck nuts to 17Nm. Check all sheaves rotate; if not, look for sealant or incorrect assembly.
Common Data (drill guides)
| Version | Rotating sheave | Standard spacing | Stud (supplied) | Line size |
|---|---|---|---|---|
| TSR20 | Ø21 | 34 | M8 A4-80 + M8 Nyloc nut | Ø13 max (Ø15 max on /3 to /7) |
| TSR20L (low profile) | Ø21 | 34 | M8 A4-80 + M8 Nyloc nut | Ø13 max |
| TSR30 | Ø29 | 44 | M10 A4-80 + M10 Nyloc nut A4-70 | Ø15 max |
| TSR30L (low profile) | Ø29 | 44 | M8 A4-80 + M8 Nyloc nut | Ø15 max |
All versions: drill 12.5 hole; deck thickness 10 - 58MM on the drill guides (10-57MM on the instructions); Ø12 axle; 20 mm from end to first axle; custom spacing in 1.0mm increments.
Overall Length and Weight by Size
| Size | TSR20 / TSR20L length | TSR20 weight (Ti) | TSR20L weight (Ti) | TSR30 / TSR30L length | TSR30 weight (Ti) | TSR30L weight (Ti) |
|---|---|---|---|---|---|---|
| /2 | 74 | 319g (215g) | 268g (183g) | 84 | 510g (344g) | 350g (238g) |
| /3 | 108 | 478g (322g) | 401g (274g) | 128 | 766g (518g) | 527g (358g) |
| /4 | 142 | 637g (429g) | 535g (365g) | 172 | 1023g (691g) | 704g (479g) |
| /5 | 176 | 796g (537g) | 669g (457g) | 216 | 1279g (865g) | 881g (599g) |
| /6 | 210 | 956g (644g) | 803g (548g) | 260 | 1535g (1038g) | 1058g (720g) |
| /7 | 244 | 1115g (751g) | 936g (639g) | 304 | 1792g (1212g) | 1235g (840g) |
| /8 | 278 | 1274g (858g) | 1070g (730g) | 348 | 2048g (1386g) | 1412g (961g) |
| /9 | 312 | 1433g (966g) | 1204g (822g) | 392 | 2305g (1559g) | 1589g (1082g) |
| /10 | 346 | 1592g (1073g) | 1338g (913g) | 436 | 2561g (1733g) | 1765g (1202g) |
| /11 | 380 | 1752g (1180g) | 1471g (1004g) | 480 | 2818g (1906g) | 1942g (1323g) |
| /12 | 414 | 1911g (1287g) | 1605g (1095g) | 524 | 3074g (2080g) | 2119g (1443g) |
| /13 | 448 | 2070g (1395g) | 1739g (1186g) | 568 | 3331g (2254g) | 2296g (1564g) |
Lengths in mm at standard spacing. Weights include full-length stainless steel deck fixings; the titanium option weight is in brackets. One fastener per sheave (e.g. TSR20/5: 5 × M8).
Drill Guides
- Four downloads, one per version, each with one page per size from /2 to /13, on A4 at 1:2 (up to /7 or /8) or 1:4 for the longer sizes – not 1:1.
- Each page also gives the maximum sheave loads (longitudinal 0°, transverse 90°, combined) and a max rope tension table by deflection angle for bisected and straight rope entry; the values vary between pages, so read the page for your size.
- Spinlock's warning: if you use a guide as a template, set the printer for the drawing scale and always check the dimensions.
Safety
- Check the product is correctly specified for your application, load and line size, and correctly installed before its first use under load.
- Braided fibre rope only. Never use it if damaged or worn, or with damaged rope.
- Never use cleaning or lubricating solvents, polysulphide or polyurethane based sealants. Do not modify any part.
Need a part that isn't listed? Ask us to source it and quote the part number from the PDF.
Products in this Manual
-


Spinlock Deck Organizer - Rail Pair - For 2 Sheaves TSR20 Aft (Standard)
SPI-TSR20-RL-2
$46.99 USDUnit price /Unavailable -
Spinlock Deck Organizer - End Sheave Assembly (Pair) - For TSR20 Aft (Standard) - Titanium
SPI-TSR20-ESHV-TI
$683.19 USDList Price: $803.75 USDUnit price /Unavailable -
Spinlock Deck Organizer - End Sheave Assembly (Pair) - For TSR20 Aft (Standard) - Alloy
SPI-TSR20-ESHV
$227.80 USDList Price: $268.00 USDUnit price /Unavailable -
Spinlock Deck Organizer - 9 Sheaves TSR20 Aft (Standard) - Dia: 25/32 in (20 mm)
SPI-TSR20-9
$1,121.58 USDList Price: $1,319.50 USDUnit price /Unavailable -
Spinlock Deck Organizer - 8 Sheaves TSR20 Aft (Standard) - Dia: 25/32 in (20 mm)
SPI-TSR20-8
$1,032.11 USDList Price: $1,214.25 USDUnit price /Unavailable -
Spinlock Deck Organizer - 7 Sheaves TSR20 Aft (Standard) - Dia: 25/32 in (20 mm)
SPI-TSR20-7
$942.01 USDList Price: $1,108.25 USDUnit price /Unavailable -
Spinlock Deck Organizer - 6 Sheaves TSR20 Aft (Standard) - Dia: 25/32 in (20 mm)
SPI-TSR20-6
$852.13 USDList Price: $1,002.50 USDUnit price /Unavailable -
Spinlock Deck Organizer - 5 Sheaves TSR20 Aft (Standard) - Dia: 25/32 in (20 mm)
SPI-TSR20-5
$762.45 USDList Price: $897.00 USDUnit price /Unavailable -
Spinlock Deck Organizer - 4 Sheaves TSR20 Aft (Standard) - Dia: 25/32 in (20 mm)
SPI-TSR20-4
$672.56 USDList Price: $791.25 USDUnit price /Unavailable -
Spinlock Deck Organizer - 3 Sheaves TSR20 Aft (Standard) - Dia: 25/32 in (20 mm)
SPI-TSR20-3
$582.68 USDList Price: $685.50 USDUnit price /Unavailable -
Spinlock Deck Organizer - 2 Sheaves TSR20 Aft (Standard) - Dia: 25/32 in (20 mm)
SPI-TSR20-2
$493.00 USDList Price: $580.00 USDUnit price /Unavailable -
Spinlock Deck Organizer - 10 Sheaves TSR20 Aft (Standard) - Dia: 25/32 in (20 mm)
SPI-TSR20-10
$1,213.38 USDList Price: $1,427.50 USDUnit price /Unavailable