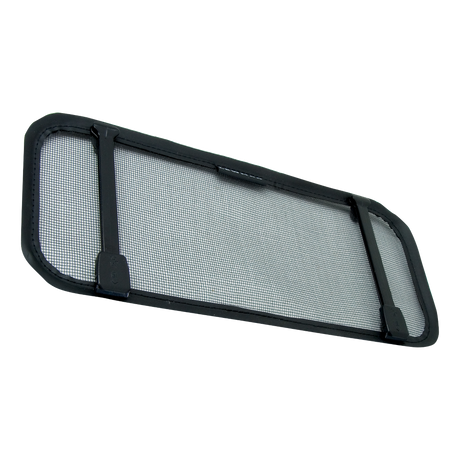
Lewmar Standard Portlight & Fixedlight — Fitting Instructions

Cut-out sizes, deck preparation, bedding, screw selection by skin thickness, trim fitting, valance types and seal replacement for Lewmar Standard opening portlights and fixedlights.
Download PDF ▾

Cut-Out Sizes
| Size No. | Product size | Dim A mm | Dim A ins | Dim B mm | Dim B ins |
|---|---|---|---|---|---|
| 0 | 4x10 | 156 | 6⅛ | 303 | 12 |
| 1 | 5x12 | 171 | 6¾ | 347 | 13⅝ |
| 2 | 4x14 | 156 | 6⅛ | 405 | 16 |
| 3 | 5x15 | 171 | 6¾ | 429 | 16¾ |
| 4 | 5x23 | 171 | 6¾ | 627 | 24½ |
| 5 | 7x15 | 244 | 9⅝ | 429 | 16⅞ |
| 6 | 3x15 | 126 | 5 | 429 | 16⅞ |
Corner radius R52 typical. Compliance: ISO/DIS 12216.2(E), design category "A", areas II, III and IV for portlights and I, II, III and IV for fixedlights; any modification invalidates it.
Preparing the Opening
- Flat surface, max tolerance +/-1mm, extending 12mm beyond the planned cut-out; deck/hull thickness 6-34mm.
- Hold the inner frame inside the intended position to check a flat bearing area and room for the trim; mark the cut-out with a pencil.
- Hull area I: the lower edge at least 600mm above the flotation plane, fully loaded, upright at rest. For ocean or offshore use, nothing may stand proud of the hull outer surface or integral fairing.
- Prepare a template when fitting several; the outer frame must sit squarely on the opening.
- Seal exposed composite laminate; deburr metal decks. Portlights are not stiffening members: stiffen the deck.
Bedding and Fixing
- Measure skin thickness (plus inner trim if fitted) and choose the screw from the table: the M5 screws supplied suit 17-22mm only.
- Bedding compound in the outer-frame channel: good adhesion (e.g. silicone), marine grade, 3mm minimum thick and compressible.
- Inner frame joint on the lower edge; bolt from the centre out to the ends, max torque 2.8Nm (25 in.lb). Clean off surplus.
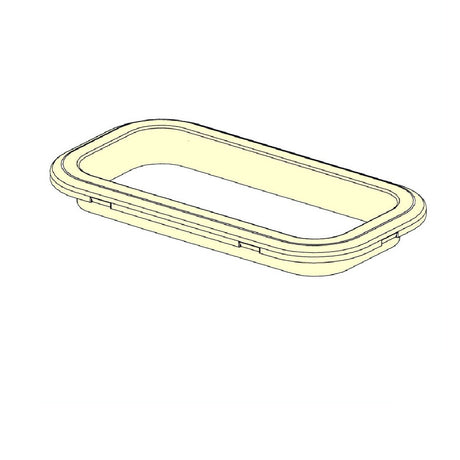
- Trim length H = T - 12mm: cut the inner edge only (fine saw or tin snips) and snap it onto the inner frame all round.
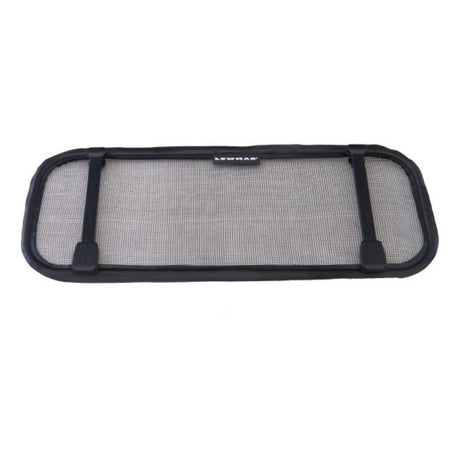
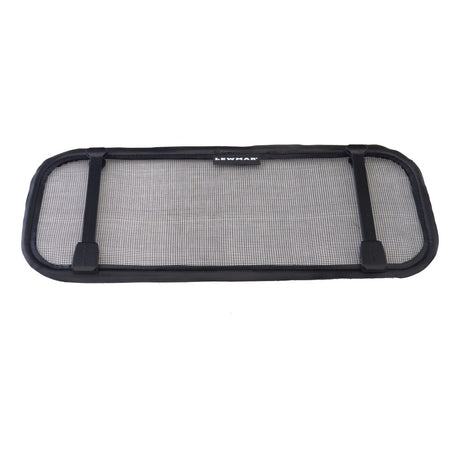
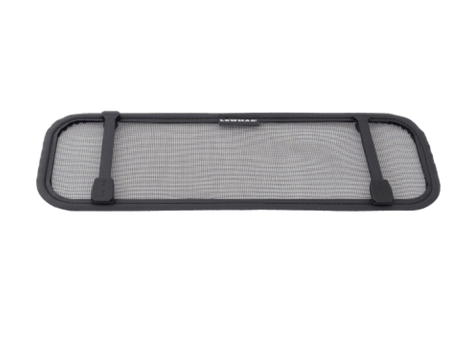
- Check window operation, locking and even seal pressure; leave the flyscreen on board.
| Order No. | Dimension T | Screw | |
|---|---|---|---|
| 19899000 | 6 - 9mm | use M5x12 | View part → |
| 19899100 | 8 - 13mm | use M5x16 | View part → |
| 19899200 | 12 - 17mm | use M5x20 | View part → |
| 19899300 | 17 - 22mm | use M5x25 | Ask us to source it → |
| 19899400 | 22 - 27mm | use M5x30 | View part → |
| 19899500 | 27 - 32mm | use M5x35 | View part → |
| 19899600 | 32 - 34mm | use M5x40 | Ask us to source it → |
New Standard Portlight Valance Types
| Valance | Fastening | Deck thickness | Supplied with port |
|---|---|---|---|
| AF | M5 X 12 M5 X 16 |
8.5 TO 11mm 9 TO 13.5mm |
NO YES |
| AL | M5 X 12 M5 X 16 |
5.5 TO 8mm 6 TO 10.5mm |
NO YES |
| AS (8.5mm) | M5 X 16 M5 X 20 |
14 TO 17mm 15 TO 19mm |
NO YES |
| AV (11.5mm) | M5 X 20 M5 X 25 |
17 TO 21mm 20 TO 22mm |
YES NO |
Deck range per valance from the drawing: AF 8.5 to 13.5, AL 5.5 to 10.5, AS 14 to 19, AV 17 to 22 (mm). Not to scale.
Seal Replacement and Care
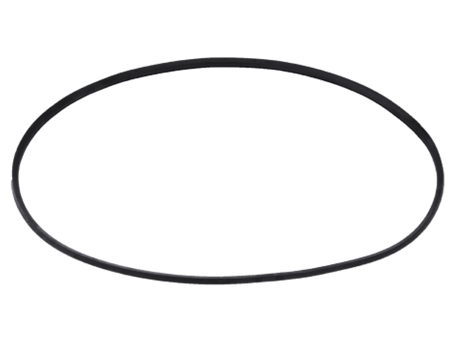
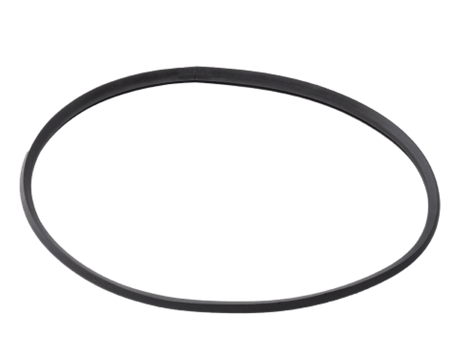
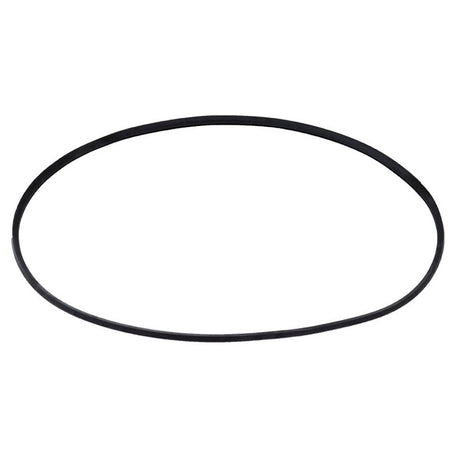
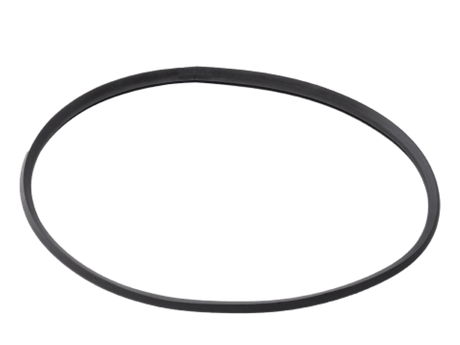
- Check the new seal is the right size (the fitted seal is slightly stretched at the corners).
- Pull out the old seal; it hooks into a cavity in the frame and is bedded in silicone. Clean the cavity with a plastic scraper, corners especially; no solvents (they attack the anodising and the acrylic).
- Dry fit: seal joint and air release holes positioned relative to hinges and handle catch as in Figure 2. Push home from the middle of each edge towards the corners: hinge edge first, then the handle edge (Size 5 with handles on three edges: the edge opposite the hinge), then the rest. Use a pusher or roller tool at the corners.
- Inspect open and closed, inside and out; an uneven area means it is not seated. Remove it, run a bead of silicone round the cavity, refit, close the portlight and leave 24 hours.
- Then apply a very thin coat of silicone grease on the hinge edge of the seal where the window slides across it.
- Wash with soap, water and a soft cloth; never abrasive or solvent cleaners on the acrylic.
- Deadlight: make a notched plywood, aluminium or GRP plate; remove the trim and drill and tap the inner frame to bolt it on.
Need a part that isn't listed? Ask us to source it and quote the part number from the PDF.
Products in this Manual
-


LEW393120200
$280.00 USDList Price: $450.95 USDUnit price /Unavailable -

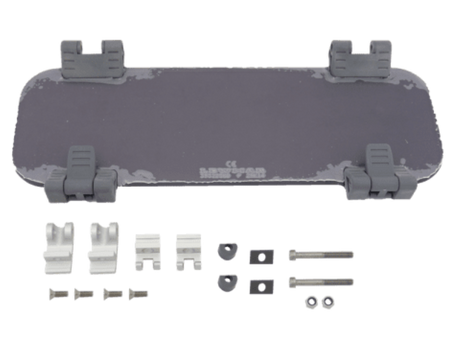
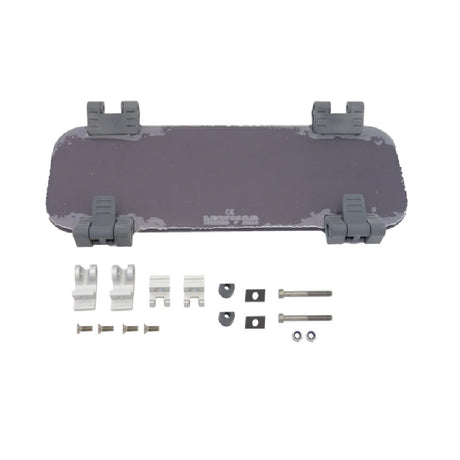
Lewmar Standard Port (New) Size 1 Opening Window - Acrylic & Mouldings - Grey
LEWSPR360751009
$95.95 USDList Price: $151.95 USDUnit price /Unavailable -
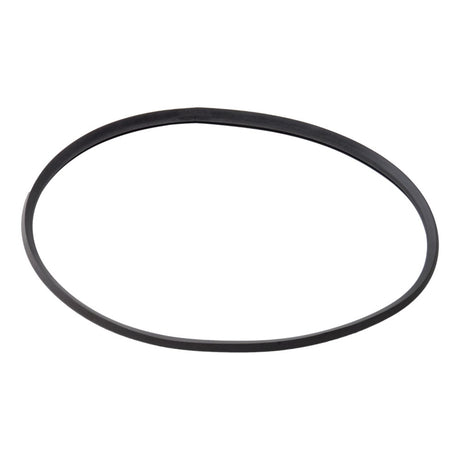
Lewmar Standard Port (New) Size 1 Opening Seal Kit
LEWSPR360759999
$37.99 USDList Price: $61.95 USDUnit price /Unavailable -
LEW393420200
$480.00 USDList Price: $778.95 USDUnit price /Unavailable -
Lewmar Standard Port (New) Size 4 Opening Window - Acrylic & Mouldings - Smoke Grey
LEWSPR360754009
$128.00 USDList Price: $201.95 USDUnit price /Unavailable -
Lewmar Standard Port (New) Size 0 Opening Seal Kit
LEWSPR360758999
$36.99 USDList Price: $59.95 USDUnit price /Unavailable -
Lewmar Standard Port (New) Size 4 Opening Seal Kit
LEWSPR360762999
$39.99 USDList Price: $63.95 USDUnit price /Unavailable -
Lewmar Standard Port (New) Size 1RE Opening Seal Kit
LEWSPR361015999
$39.99 USDList Price: $63.95 USDUnit price /Unavailable -
Lewmar Standard Port (New) Size 2 Opening Window - Acrylic & Mouldings - Smoke Grey
LEWSPR360752009
$99.95 USDList Price: $156.95 USDUnit price /Unavailable -
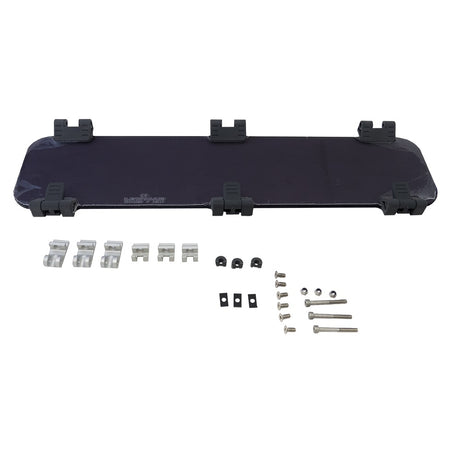
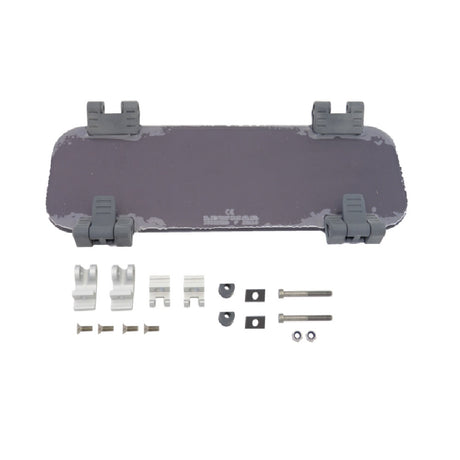
Lewmar Standard Port (New) Size Bavaria Long Port Window - Acrylic & Mouldings Mk2 - Grey
LEWSPR361341990
$51.95 USDList Price: $83.95 USDUnit price /Unavailable -
Lewmar Standard Port (New) Size 1 Clip Flyscreen
LEW367312936
$40.99 USDList Price: $68.95 USDUnit price /Unavailable -
Lewmar Standard Port (New) Size 0 Clip Flyscreen
LEW367302936
$40.99 USDList Price: $68.95 USDUnit price /Unavailable -

LEW393020200
$255.00 USDList Price: $410.95 USDUnit price /Unavailable -
Lewmar Standard Port (New) Size 2 Flyscreen
LEW367322936
$40.99 USDList Price: $68.95 USDUnit price /Unavailable -
Lewmar Standard Port (New) Size 2 Opening Seal Kit
LEWSPR360760999
$38.99 USDList Price: $62.95 USDUnit price /Unavailable -
Lewmar Standard Port (New) Size 7RE Opening Window - Acrylic & Mouldings - Smoke Grey
LEWSPR361009009
$128.00 USDList Price: $201.95 USDUnit price /Unavailable -
Lewmar Standard Port (New) Size Round 250 Trim & Clamp Ring - Stainless Steel - Chrome
LEWSPR361522999
$95.95 USDList Price: $151.95 USDUnit price /Unavailable -
Lewmar Standard Port (New) Size 0 Opening Window - Acrylic & Mouldings - Clear
LEWSPR360750009
$87.95 USDList Price: $138.95 USDUnit price /Unavailable -
Lewmar Standard Port (New) Size Bavaria Barrel Seal Kit
LEWSPR361422999
$61.95 USDList Price: $98.95 USDUnit price /Unavailable -
Lewmar Standard Port (New) Size 8 Seal Kit - Stainless Steel
LEWSPR361493999
$62.95 USDList Price: $99.95 USDUnit price /Unavailable -
Lewmar Standard Port (New) Size 5 Opening Trim - Plastic - Ivory
LEWSPR368352539
$59.95 USDList Price: $95.95 USDUnit price /Unavailable -
Lewmar Standard Port (New) Size Bavaria Long Port Seal Kit Mk2
LEWSPR361344999
$45.99 USDList Price: $73.95 USDUnit price /Unavailable -
Lewmar Standard Port (New) Size 7RE Opening Seal Kit
LEWSPR361010999
$42.99 USDList Price: $69.95 USDUnit price /Unavailable -
Lewmar Standard Port (New) Size 3 Flyscreen
LEW367332936
$40.99 USDList Price: $68.95 USDUnit price /Unavailable